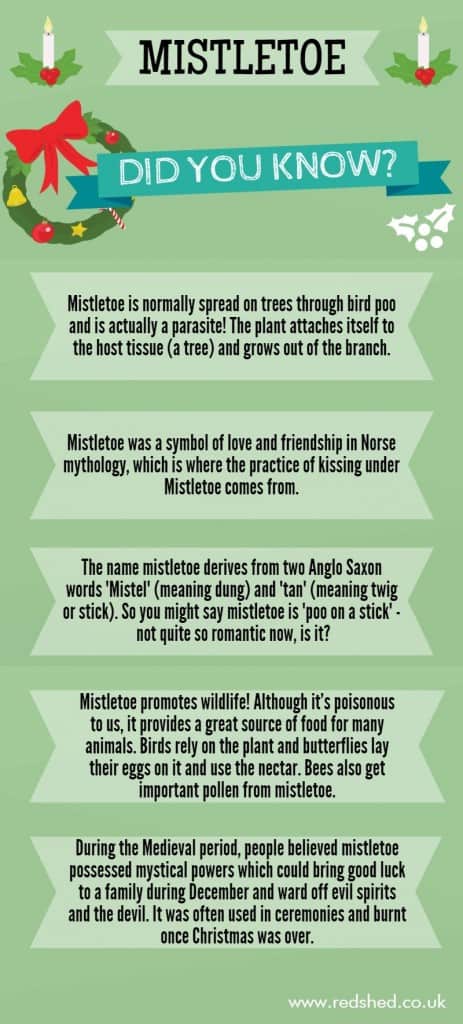
Want to guarantee yourself a kiss this Christmas? There’s only one sure-fire way to do it – by growing your own mistletoe. It’s easier than you think too, you don’t even need any soil because the stuff literally grows on trees! To make things even easier we’ve written a step-by-step guide on how to grow it.
All you need is a suitable tree to grow it on and a load of good old fashioned patience, well, four years to be exact. Sounds like a long time? Remember, good things (like real mistletoe) come to those who wait…
Although there are hundreds of varieties of mistletoe around the world, the one most people are familiar with is the white-berried variety associated with Christmas celebrations and a cheeky kiss.
So, how can you grow your own?
Mistletoe is usually spread naturally by birds but depending on how much time you have on your hands you can do one of two things – either grow your own from seeds gathered from another tree in March or April, or buy yourself a small mistletoe growing kit online. Stick with traditional and follow our simple guide to growing mistletoe from scratch…
A Step-By-Step Guide
1. Collect or buy berries from February onwards, don’t use any that are left over from Christmas sprigs or decorations as these are picked when they are far too young so will struggle to germinate when placed on a tree branch.
2. Mistletoe berries can be planted on a variety of tree branches including apple, poplar, lime, conifers and hawthorns. Some people even choose to plant them on shrubs from the Rosaceae family, just make sure early seeds are protected with netting because birds love to steal them (they eat toxic berries for breakfast). TIP: Remember mistletoe is a parasite and will affect the amount of fruit yielded if planted on an apple tree or other fruit tree.
3. To get the seeds out you’ll need to squeeze them out of the berries using some elbow grease. The seeds will release enclosed in a sticky residue that is great to use for sticking them on to the branches. Collect several of the sticky seeds on your hand and go outside to plant. However, do try and clean as much sticky residue from the seed as possible as the seeds will grow better when clean, plus you only need a little of the residue to make the seed stick.
4. Pick the younger branches, from around 4cm to 10cm in diameter (girth) and ideally, for the best results, on a tree that is around 15-years-old or more. Try and avoid older branches and the trunk as mistletoe will struggle to grow on these. It’s always best to grow further away from the centre of the tree. Put around six or seven seeds on the branch and label or mark it so you remember which branch you chose.
5. When will you see results? If you planted your seeds on the branch in February you should see the early stages of germination by March/ April, so within one to two months. However, don’t get too excited as mistletoe needs a long time to set in on a tree and really blossom. In fact, it could be anything between four to six years until you see something that resembles true berry-filled mistletoe.
Did you grow a male or a female?
If you do manage to remember to go back and the check the tree four years later, make sure you check how many males and females you produced. The lady mistletoe produces flowers but no berries, while the male has berries but no flowers. Try to keep the numbers even.
So there you have it, a simple guide on how to grow mistletoe. The famous plant under which enemies once declared truces and arguing spouses would kiss and make-up. Give it a try yourself!


